Create stunning panoramas in Photoshop by stitching multiple overlapping photos in to one using the Photomerge function.
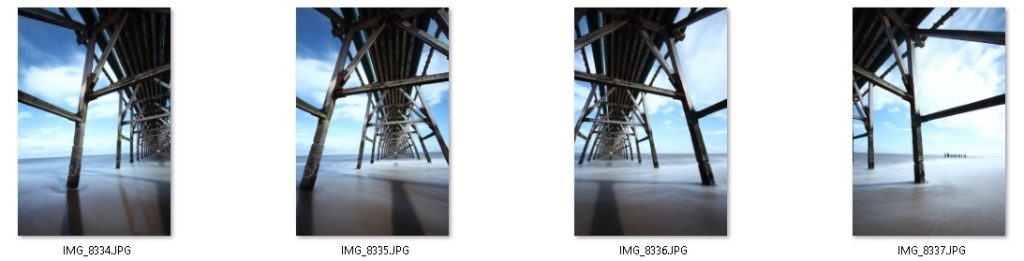
When I encounter a scene that is too wide to capture with a single exposure, I take multiple portrait orientation shots covering the scene whilst ensuring they overlap by at least 20%.
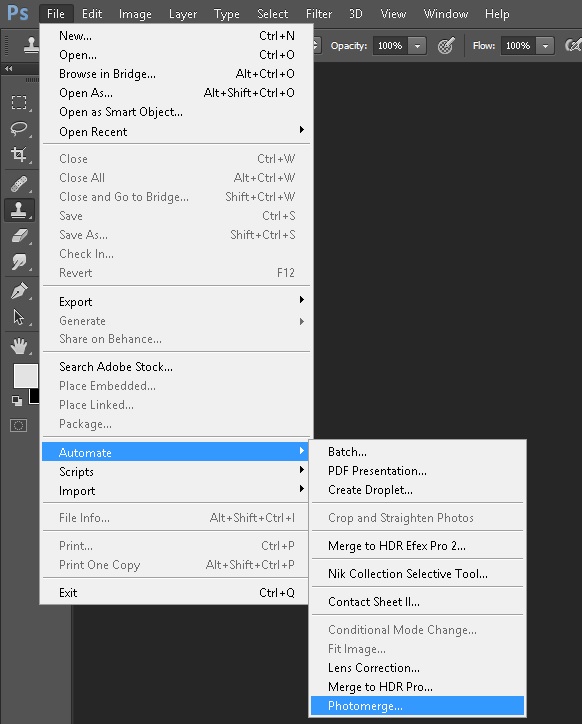
Now, in Photoshop, go to File –> Automate –> Photomerge.
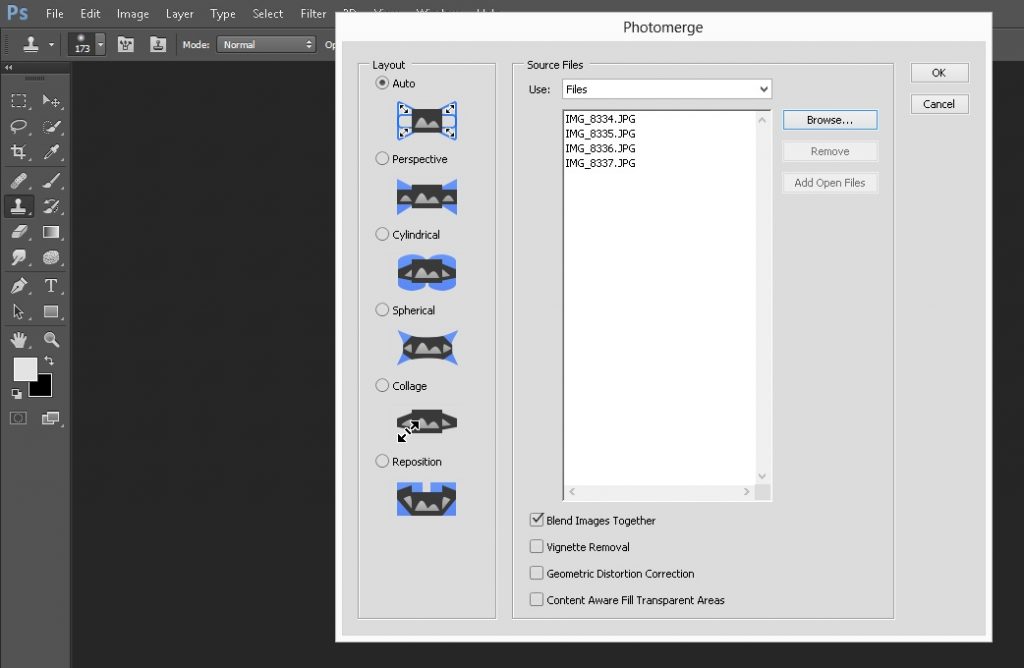
Browse for the overlapping images and select Layout: ‘Auto’ and ‘Blend images together’. Press OK.
Allow Photoshop a few minutes to stitch the images together and provided you gave enough overlap you should get a nicely joined up image.
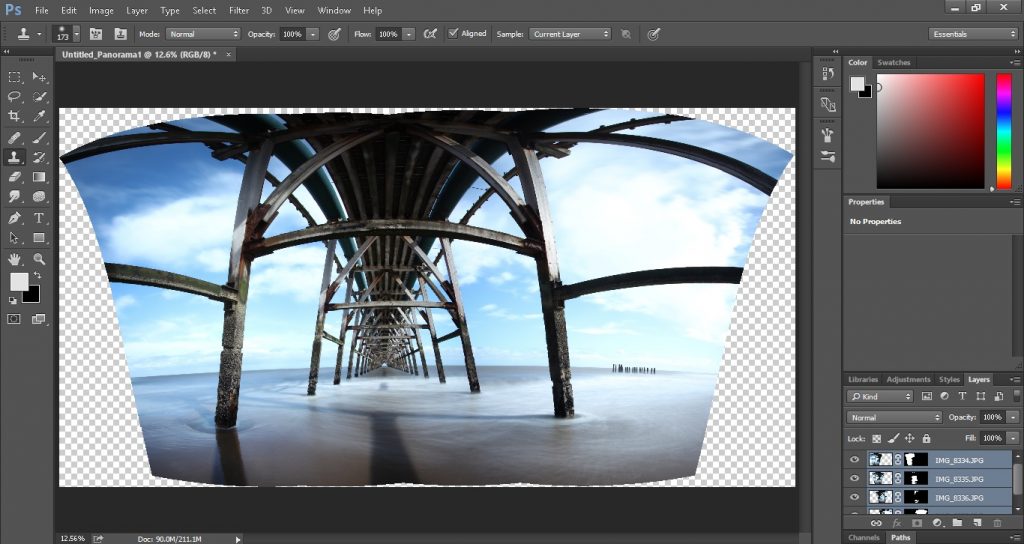
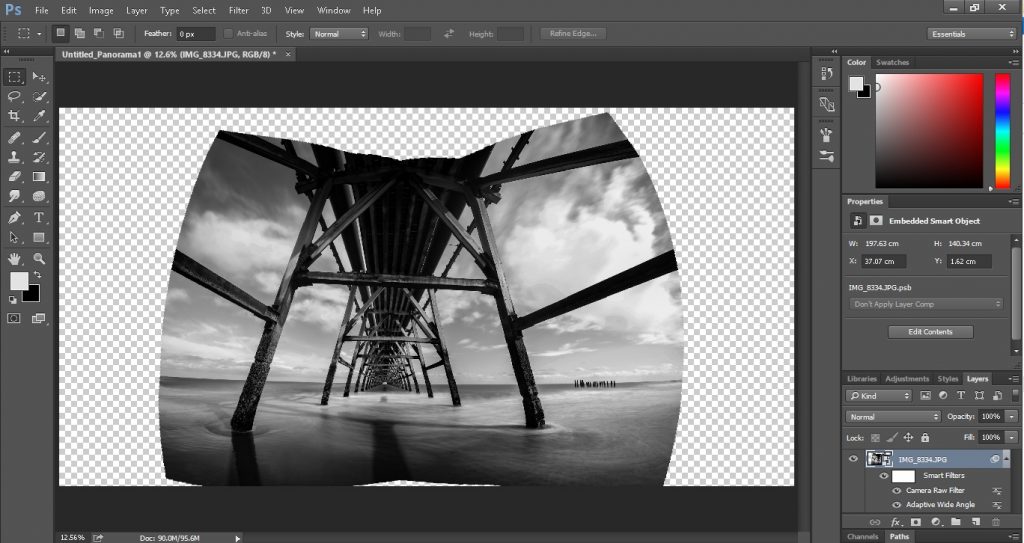
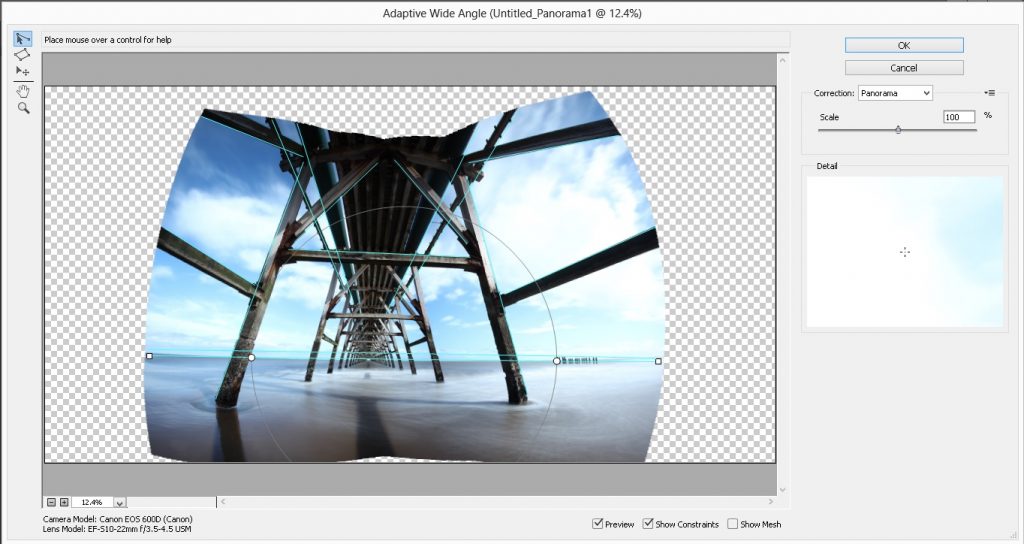
You will note that all of the lines are distorted, this is where you can now put to good use the ‘Adaptive Wide Angle Filter’ in Photoshop.
First convert the image for ‘Smart Filters’
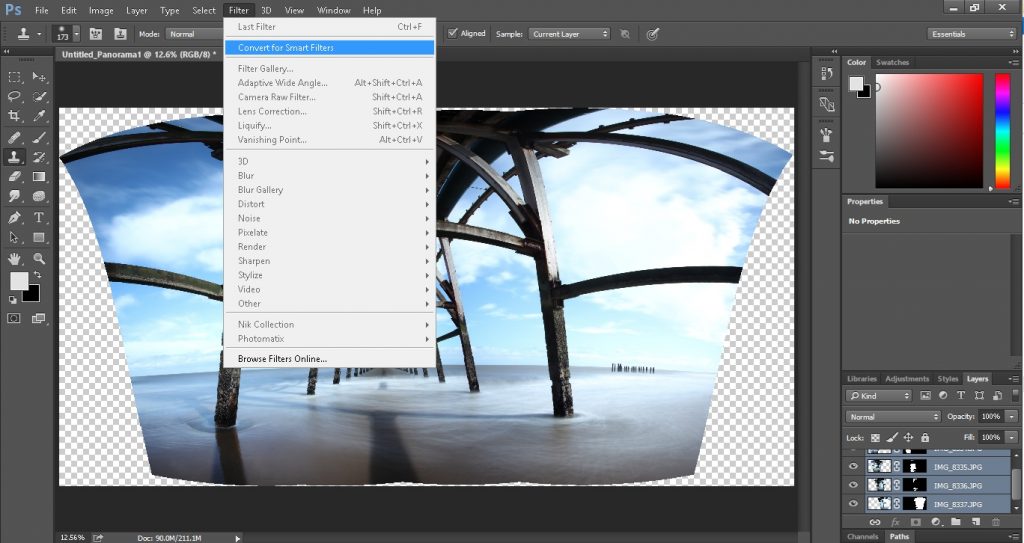
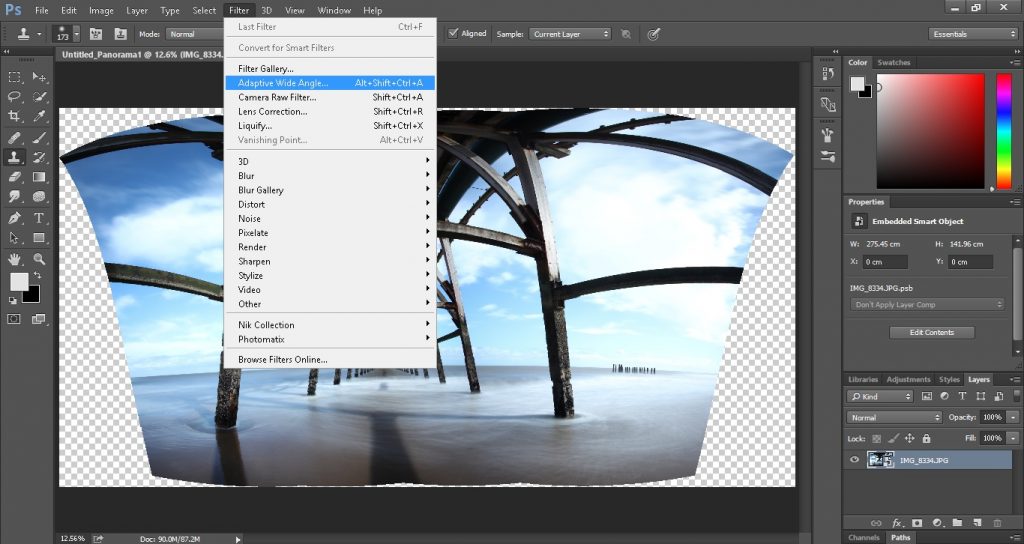
This allows for filters to be applied, now select ‘Adaptive Wide Angle’ filter.
The Adaptive Wide Angle filter window is shown, using the constraint tool at the top-left draw along the lines which should be straight.
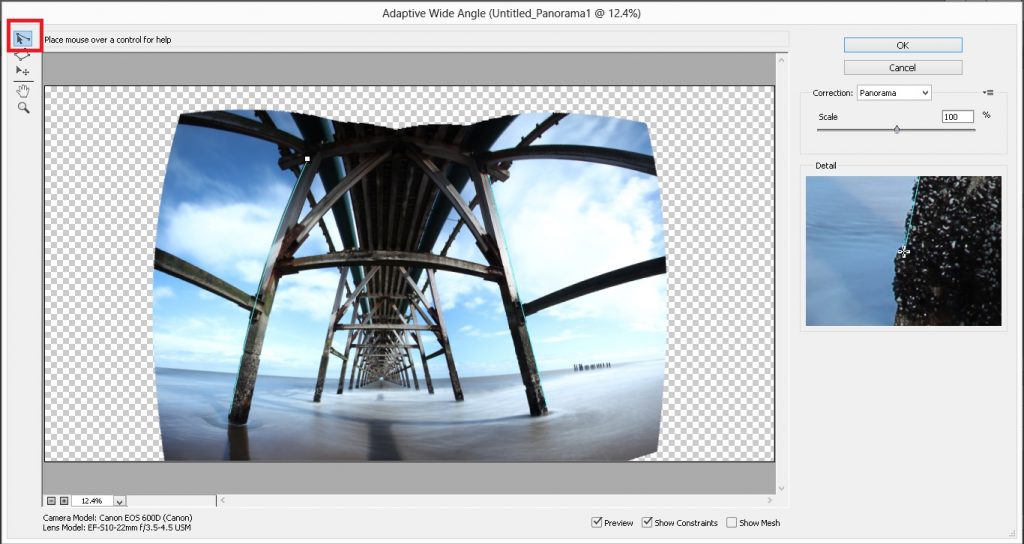
The image will gradually straighten out as required. Press OK when happy with the result.
You’re then free to process the photo as normal.